
The Real Cost Drivers Engineers Commonly Underestimate
Understanding CNC machining cost for startups is critical when developing hardware products.
Startups don’t get to “learn CNC later.” A few early design decisions made with good intentions can quietly double your part cost, extend lead times, and create inspection headaches.
If you want CNC machining to work for your product (and your burn rate), you need to understand the real cost drivers. Below are the five control knobs that matter most plus practical design for manufacturing (DFM) habits that keep quotes predictable.
For many hardware teams, CNC machining cost becomes the largest manufacturing expense during prototyping.
1) Setup and Programming Time (The Hidden Multiplier)
Machine shops make money when the spindle is cutting not when a machinist is re-orienting parts, swapping fixtures, probing, or debugging toolpaths. In low-volume startup builds, setup and programming can dominate the quote.
- What drives setup cost up:
Many separate components in a low-volume assembly (each part needs its own planning, CAM, setup, and inspection approach). - Multiple setups due to awkward part orientation, hard-to-reach features, or non-intuitive datums.
- Custom fixturing: soft jaws, custom nests, angle plates, complex clamping schemes.
- Specialized tooling: tiny end mills, long-reach cutters, form tools, or non-standard drills/reamers.
Best practices that reduce setup time:
- Consolidate designs and resist “ten slightly different variants” unless you truly need them. Variation = repeated CAM + setup overhead.
- Design for fewer setups. If features can be machined from 1–2 orientations, your cost drops fast.
- Use simple, robust datums. Avoid “mystery surfaces” that force creative fixturing. Give the shop obvious flat references and consistent locating logic.
Practical tip: If your part needs 3+ setups, ask whether the design can be rotated, mirrored, or split into simpler operations your quote usually improves immediately.
2) Material and Stock Selection (Cool Materials = Hot Invoices)
Material choices don’t only affect raw cost. They affect machining time, tool wear, chip control, surface finish behavior, and availability (lead time risk).
Common-sense guidelines:
- Aluminum: default to 6061-T6 unless you truly need higher strength, specific fatigue behavior, corrosion performance, or anodizing response that pushes you elsewhere.
- Plastics: consider Delrin (POM), Nylon, and step up to Ultem/PEEK only when temperature, wear, chemical exposure, sterilization, or compliance forces it.
- Avoid unnecessary thickness. Overly thick plate/bar increases roughing time and tool wear. Design around commonly available stock sizes when possible.
Practical tip: If your geometry forces the shop to start from a large billet to “find” your part inside it, you’re paying for extra machining that provides zero product value.
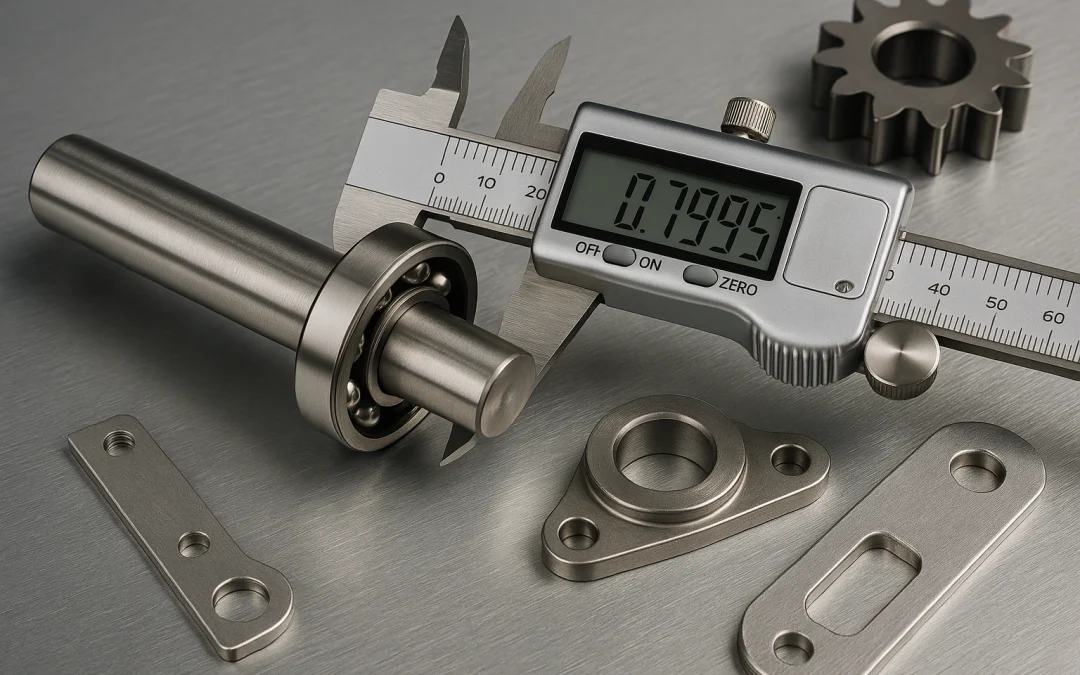
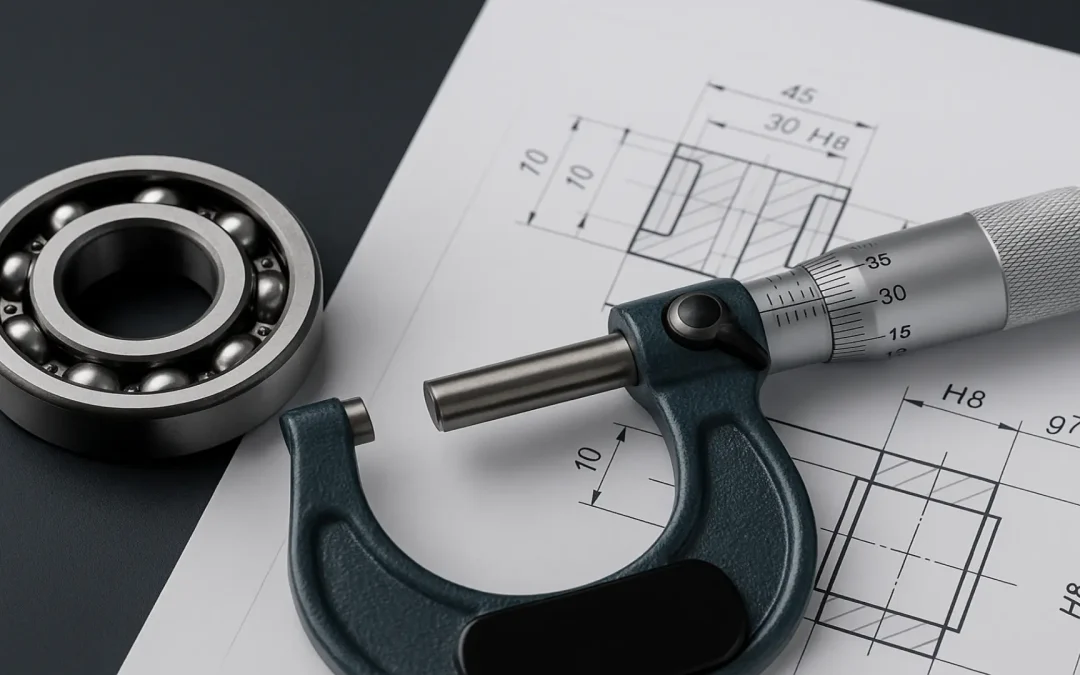
3) Tolerances and GD&T (Every Extra Decimal Place Has a Price)
Over-tolerancing is one of the most expensive habits in early-stage hardware. Tight tolerances increase machining time, inspection effort, scrap risk, and sometimes even require specialty processes.
Common startup mistakes:
- Defaulting to ±0.001″ (±0.025 mm) everywhere “just in case.”
- Overusing GD&T (true position, flatness, parallelism, perpendicularity) without tying it to a functional requirement.
- Specifying tight tolerances on non-critical features, cosmetic surfaces, or features that don’t locate anything.
Rule of thumb: Tolerances should be no tighter than function, assembly, and stack-up truly require.
According to machining guidelines published by major tooling manufacturers, tighter tolerances and complex geometries significantly increase CNC machining cost due to slower feeds and additional setups.
Best practices:
- Identify what actually controls function: sealing, sliding fits, optical alignment, bearing bores, datum relationships.
- Loosen everything else. The “non-critical” surfaces are where your quote can breathe.
- If you need tight control, specify it locally not globally.
Practical tip: If a tolerance demands CMM inspection for most features, inspection becomes a major line item. Tight tolerances don’t just cost time on the machine they cost time in metrology.
4) Feature Geometry (Some Shapes Are Expensive by Nature)
Many features are cheap. Some are a cost siren.
Geometry that typically increases cost:
- Deep, narrow pockets → small tools, slow feeds, chatter risk, long cycle times.
- Long, thin walls → deflection, vibration, scrap risk, conservative machining parameters.
- Tiny internal corner radii → tiny end mills, multiple tool changes, longer runtime.
- Undercuts → specialty tools (e.g., lollipops, dovetail cutters) or extra setups.
DFM moves that usually reduce cost:
- Increase internal radii where possible (bigger tools = faster cutting).
- Slightly thicken walls, shorten tall thin sections, add ribs strategically.
- Avoid extreme depth to width ratios in pockets.
- Re-think undercuts: can the function be achieved with a different interface or assembly strategy?
Practical tip: Small geometry tweaks often cut cycle time more than you’d expect and cycle time is one of the easiest costs for a shop to quantify.
Design changes at this stage can dramatically reduce CNC machining cost without sacrificing performance.
5) Surface Finish and Cosmetics (Mirror Finishes Are Not Free)
That premium-looking finish has real process implications: extra passes, slower feeds, polishing labor, bead blasting, or secondary finishing steps.
What increases cost:
- Unnecessary tight Ra requirements across large areas.
- Specifying “uniform cosmetic finish everywhere,” especially on complex geometry.
- Demanding visual perfection on surfaces that will be hidden or non-functional.
Best practices:
- Specify finish only where needed: sealing surfaces, sliding interfaces, mating features, or true “customer-facing” areas.
- If cosmetics matter, define what matters: directionality, allowable tool marks, bead blast level, anodize class, etc.
- Separate functional finish from cosmetic finish don’t mix requirements unintentionally.
Practical tip: If you want premium cosmetics, consider whether it’s better achieved via a finishing process (bead blast + anodize, texture, coating) rather than trying to machine “beauty” directly.
The Takeaway
If you control:
- setup count,
- material sanity,
- tolerance discipline,
- geometry that machines efficiently,
- and finish requirements tied to real needs,
…you’ll get quotes that make sense, parts that arrive faster, and fewer “why is this so expensive?” surprises.
Next (Part 4/5)
When CNC is the right choice and when sheet metal or 3D printing is the smarter path.